Recent Posts
Send your inquiry
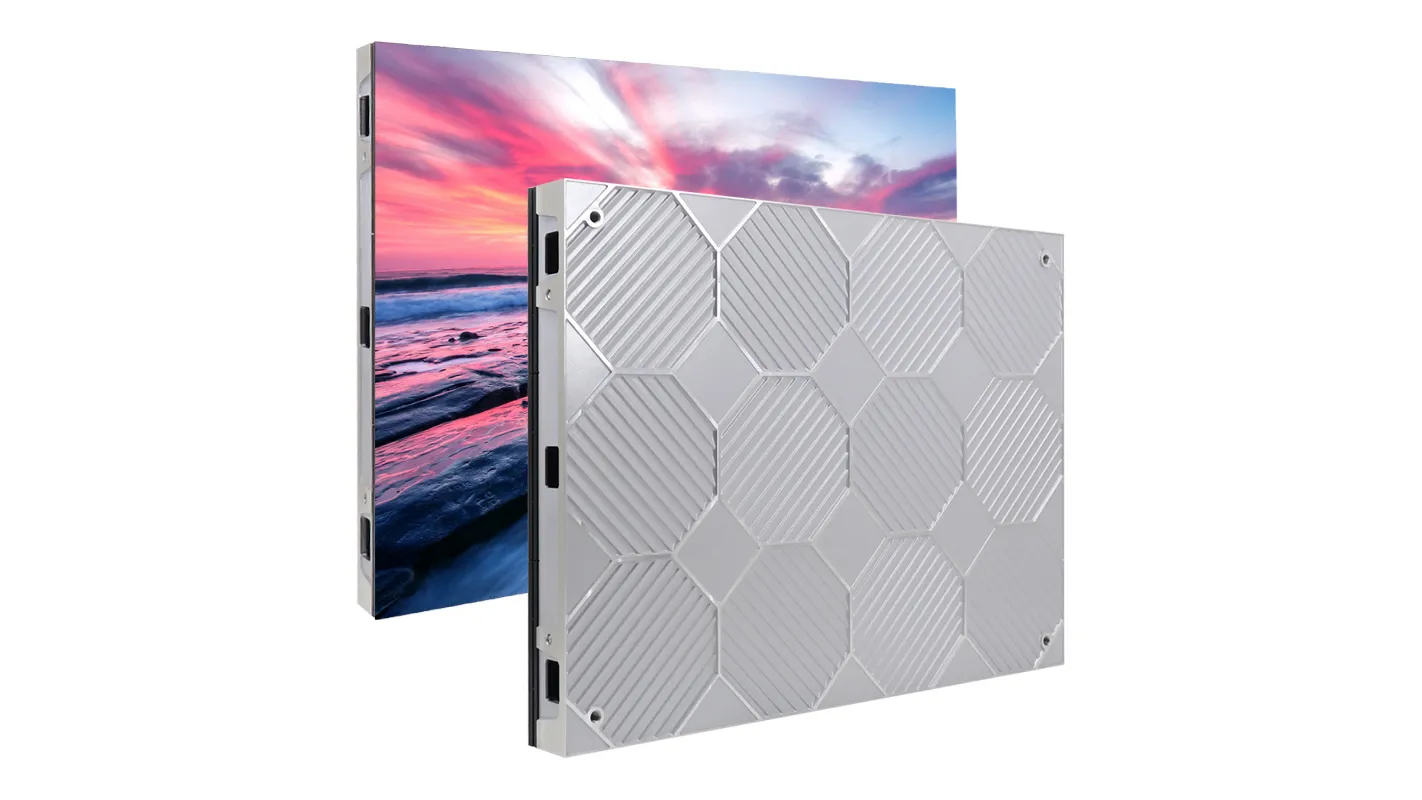
EagerLED provides you with a detailed LED Display Installation tutorial, with simple steps and easy to understand explanations, taking EA640F2 as an example. The installation of indoor high-definition LED video wall can be easily completed by referring to the video.
Required tools: electric drill, hammer, wrench.
LED display installation steps:
1. Install the support frame
Use an electric drill to drill holes in the wall. Align the expansion screw with the frame guide hole and hammer it into the hole.
Use a wrench to tighten the screws and secure the support frame. Connect the two support frames using connectors and secure them with screws.
2. Install the box on the support frame
Install M10 screws on the back of the cabinet. Align the M10 screws on the back of the cabinet with the guide holes on the support frame.
Connect and secure adjacent cabinets to ensure they are tightly fitted. Repeat this step to install the first row of cabinets. Continue this process until all the cabinets are installed and pieced together piece by piece.
3. Install LED screen module
Adjust the flatness of each cabinet to ensure that the entire video wall is completely flat.
Connect the power cord to each cabinet. Connect the receiving card to the corresponding port of the LED screen using a network cable. Installing the LED module into the cabinet typically involves removing the protective cover, aligning the module, and securing it with screws.
Ensure that all connections are secure and reliable to prevent power or signal transmission issues.
4. Check the connection
Once all cabinets and LED modules are installed, recheck all connections to ensure they are secure. Connect the video wall to the power source and turn it on to verify that it is working properly. Adjust settings or calibrate screens as needed to ensure optimal performance.


